


LESSON OVERVIEW
Have you ever felt like something is missing in your renders? More often than not that’s because you’re not utilizing post-processing to its full extend. Post-processing is the final stage of the rendering pipeline, where various screen and lens effects are applied. In this lesson, we’ll demystify the most common post-process effects and learn how to use them to give your renders that last 10% that makes all the difference.
By the end, you’ll have a clear understanding of the following:
- Why post-processing matters
- How post-processing works
- What the most common post process effects in Unreal Engine are
- How post process volumes work
WHAT IS POST PROCESSING?
Post-processing is the final stage of the rendering pipeline, where various screen and lens effects are applied. Think of it as applying filters on an image editing app! With Unreal Engine, however, we have the ability to control a vast variety of effects in real-time during gameplay or whenever you’re rendering stills or cinematics. Post-processing can dramatically alter the look of your renders and make or break your final image. With great power comes great responsibility!
USING POST PROCESS VOLUMES IN UNREAL ENGINE
Post process volume overview
Inside Unreal Engine, we can control all of the aforementioned settings through post process volumes. Think of it as an invisible 3D box that you place in your level that tells the engine what effects should be applied once your camera is inside it. You can have as many of these volumes in your level as you want, allowing you to create areas with completely different looks. Have a look at the video below to see how to start using them in your levels.
Post Process Volume Types
Post process volumes can be set as either local (bound, the default setting) or unbound. A local volume only affects the camera when it's physically inside the volume's boundaries, which is perfect for specific areas like rooms or outdoor zones. An unbound volume affects the entire level regardless of camera position, making it best used when you want to establish global settings that are always active.
The priority parameter determines which volume takes precedence when multiple volumes overlap, with higher priority volumes overriding the settings of lower ones. Typically, you’d want to use a lower priority for your global post process volume, and a higher one for any local volume you might have.
Blend distance controls how smoothly the transition happens when entering or leaving a volume's bounds. A larger blend distance creates a gradual fade between effects, while a smaller distance makes the change more sudden. These parameters give you precise control over how sharply your screen effects transition from one area to another.
Creating custom shapes for a Post Process Volume
By default, post process volumes have a simple box shape that you can scale as needed. You can, however, also create custom shapes when you need your effects to follow specific architectural layouts, natural terrain boundaries, or irregular spaces like caves. In the video below we’ll be looking into how to do just that.
EFFECTS DIRECTORY
Before we jump into the practical bits and bobs, it’s worth familiarizing ourselves with some of the most important image effects adjustable through post process volumes in Unreal Engine.
Tone Mapping (Brief reference)
To get hyper-realistic results that modern video games often require, a process called tone mapping is used. This allows Unreal Engine to do all lighting and shading calculations using high dynamic range (HDR) lighting data while ultimately displaying a low dynamic range (LDR) of values for commercial monitors, essentially compressing it to something that our screens can show. Unreal Engine uses the industry-standard ACES tonemapper, which is the same one that Hollywood uses for reliable, natural-looking value and color representation even in extreme lighting conditions. Even though we won’t be diving too deep into tone mapping in this lesson, it’s nevertheless good to at least acknowledge its importance.

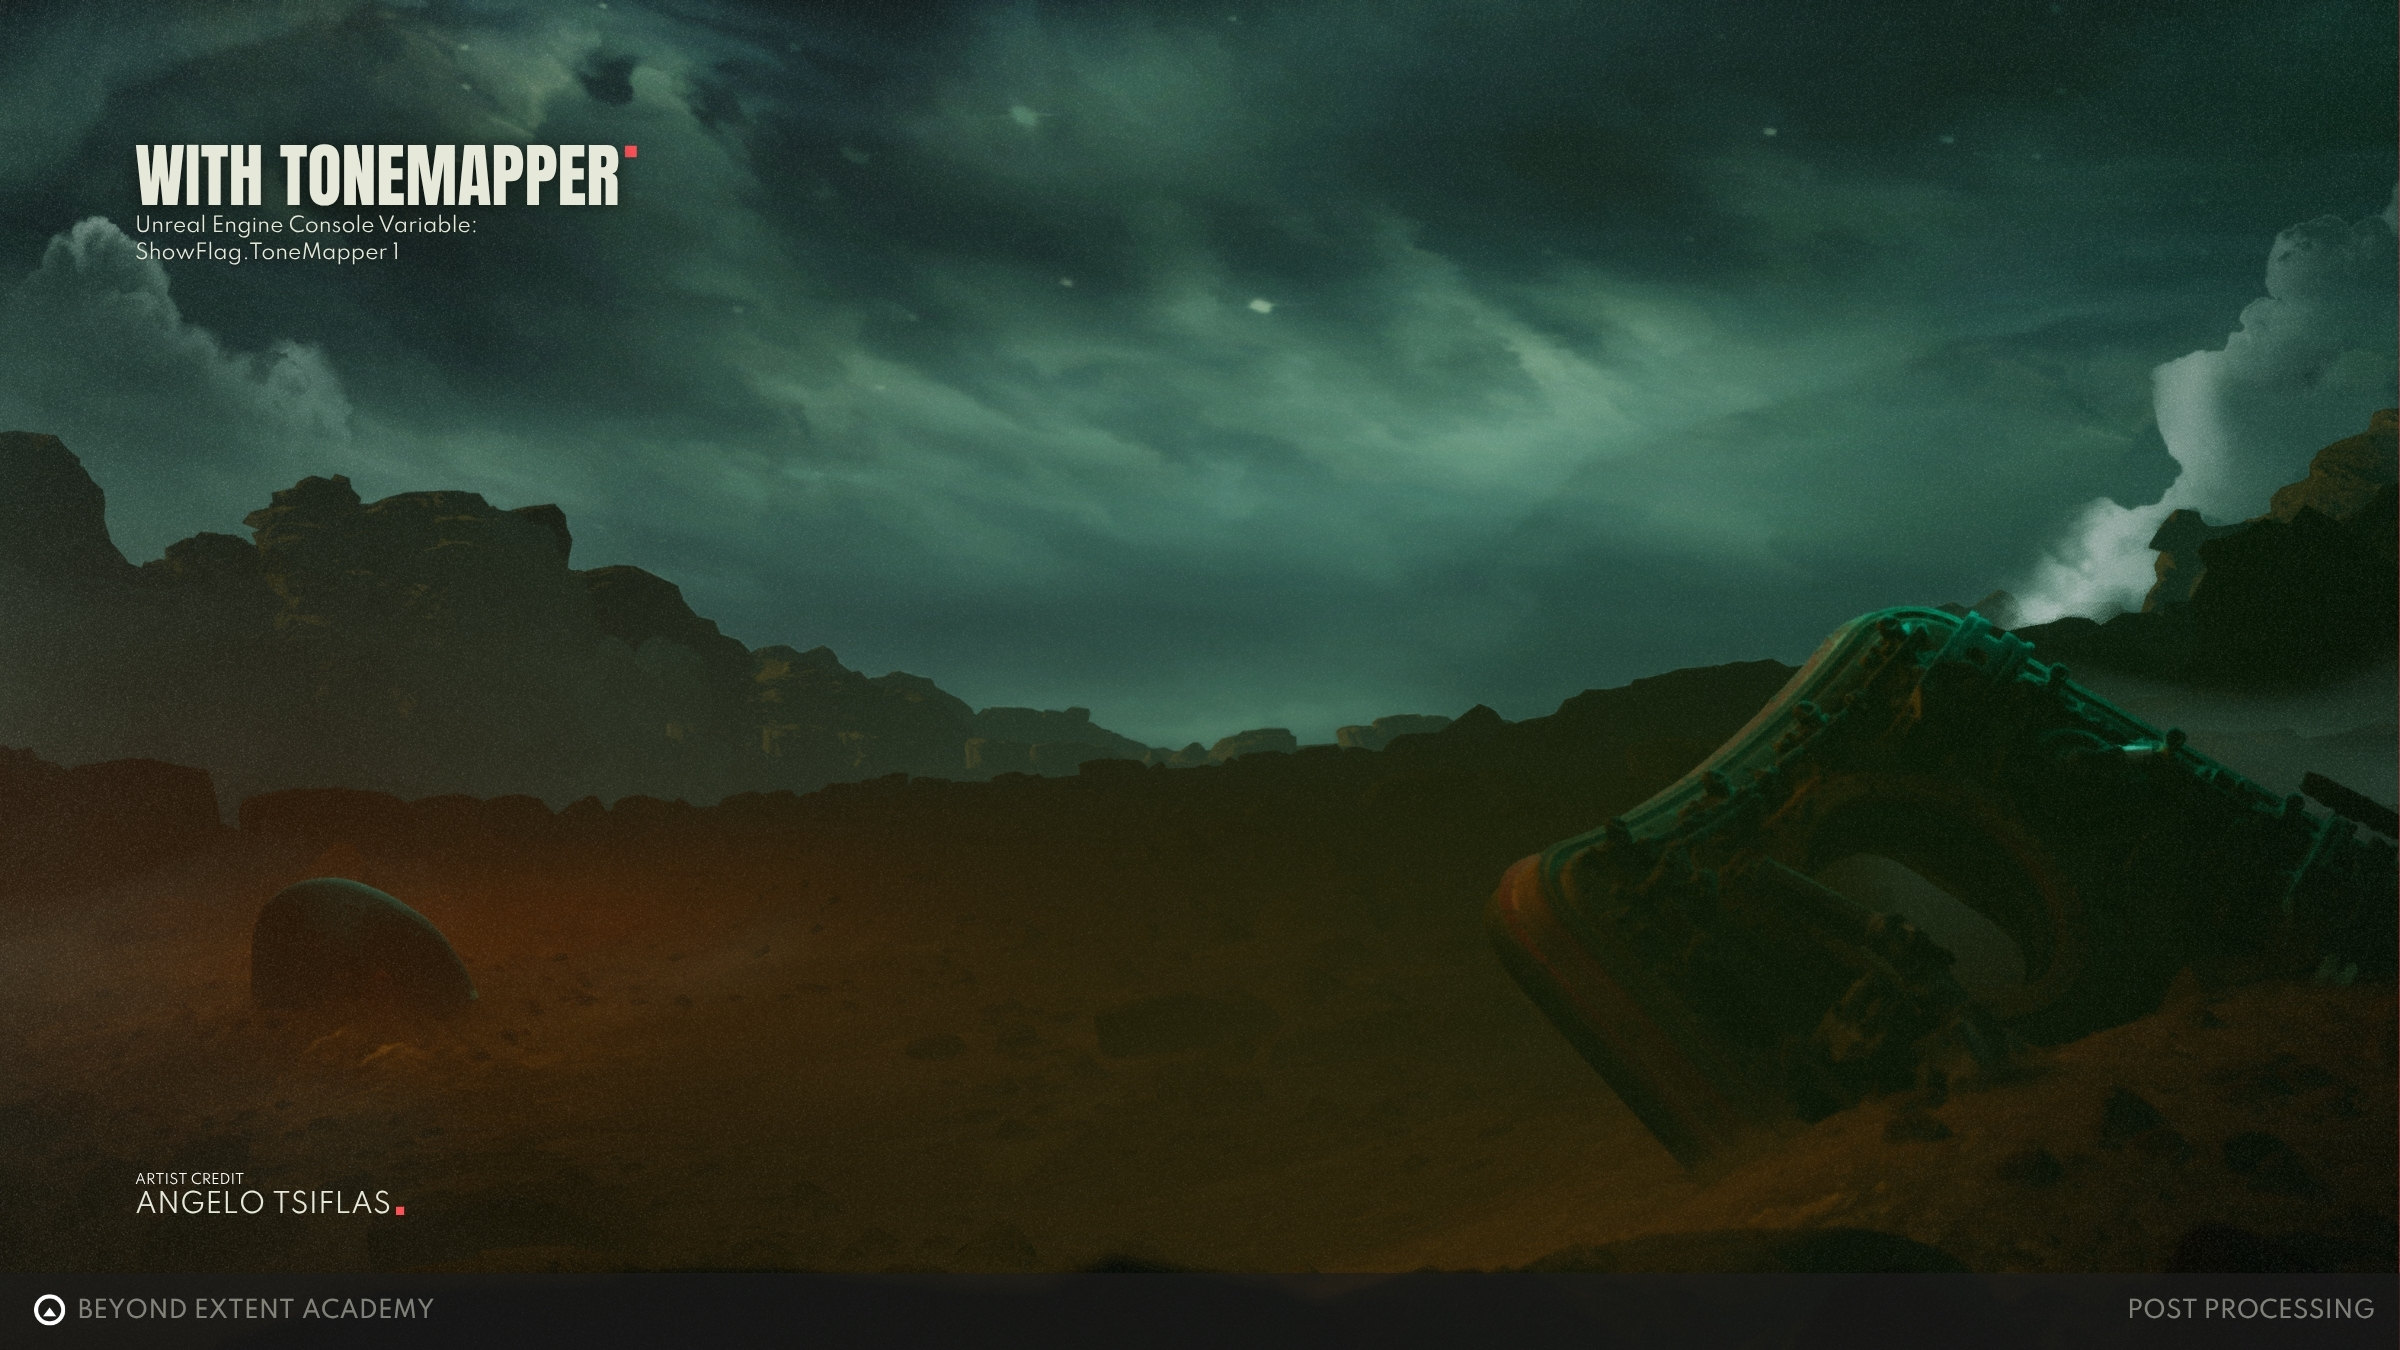
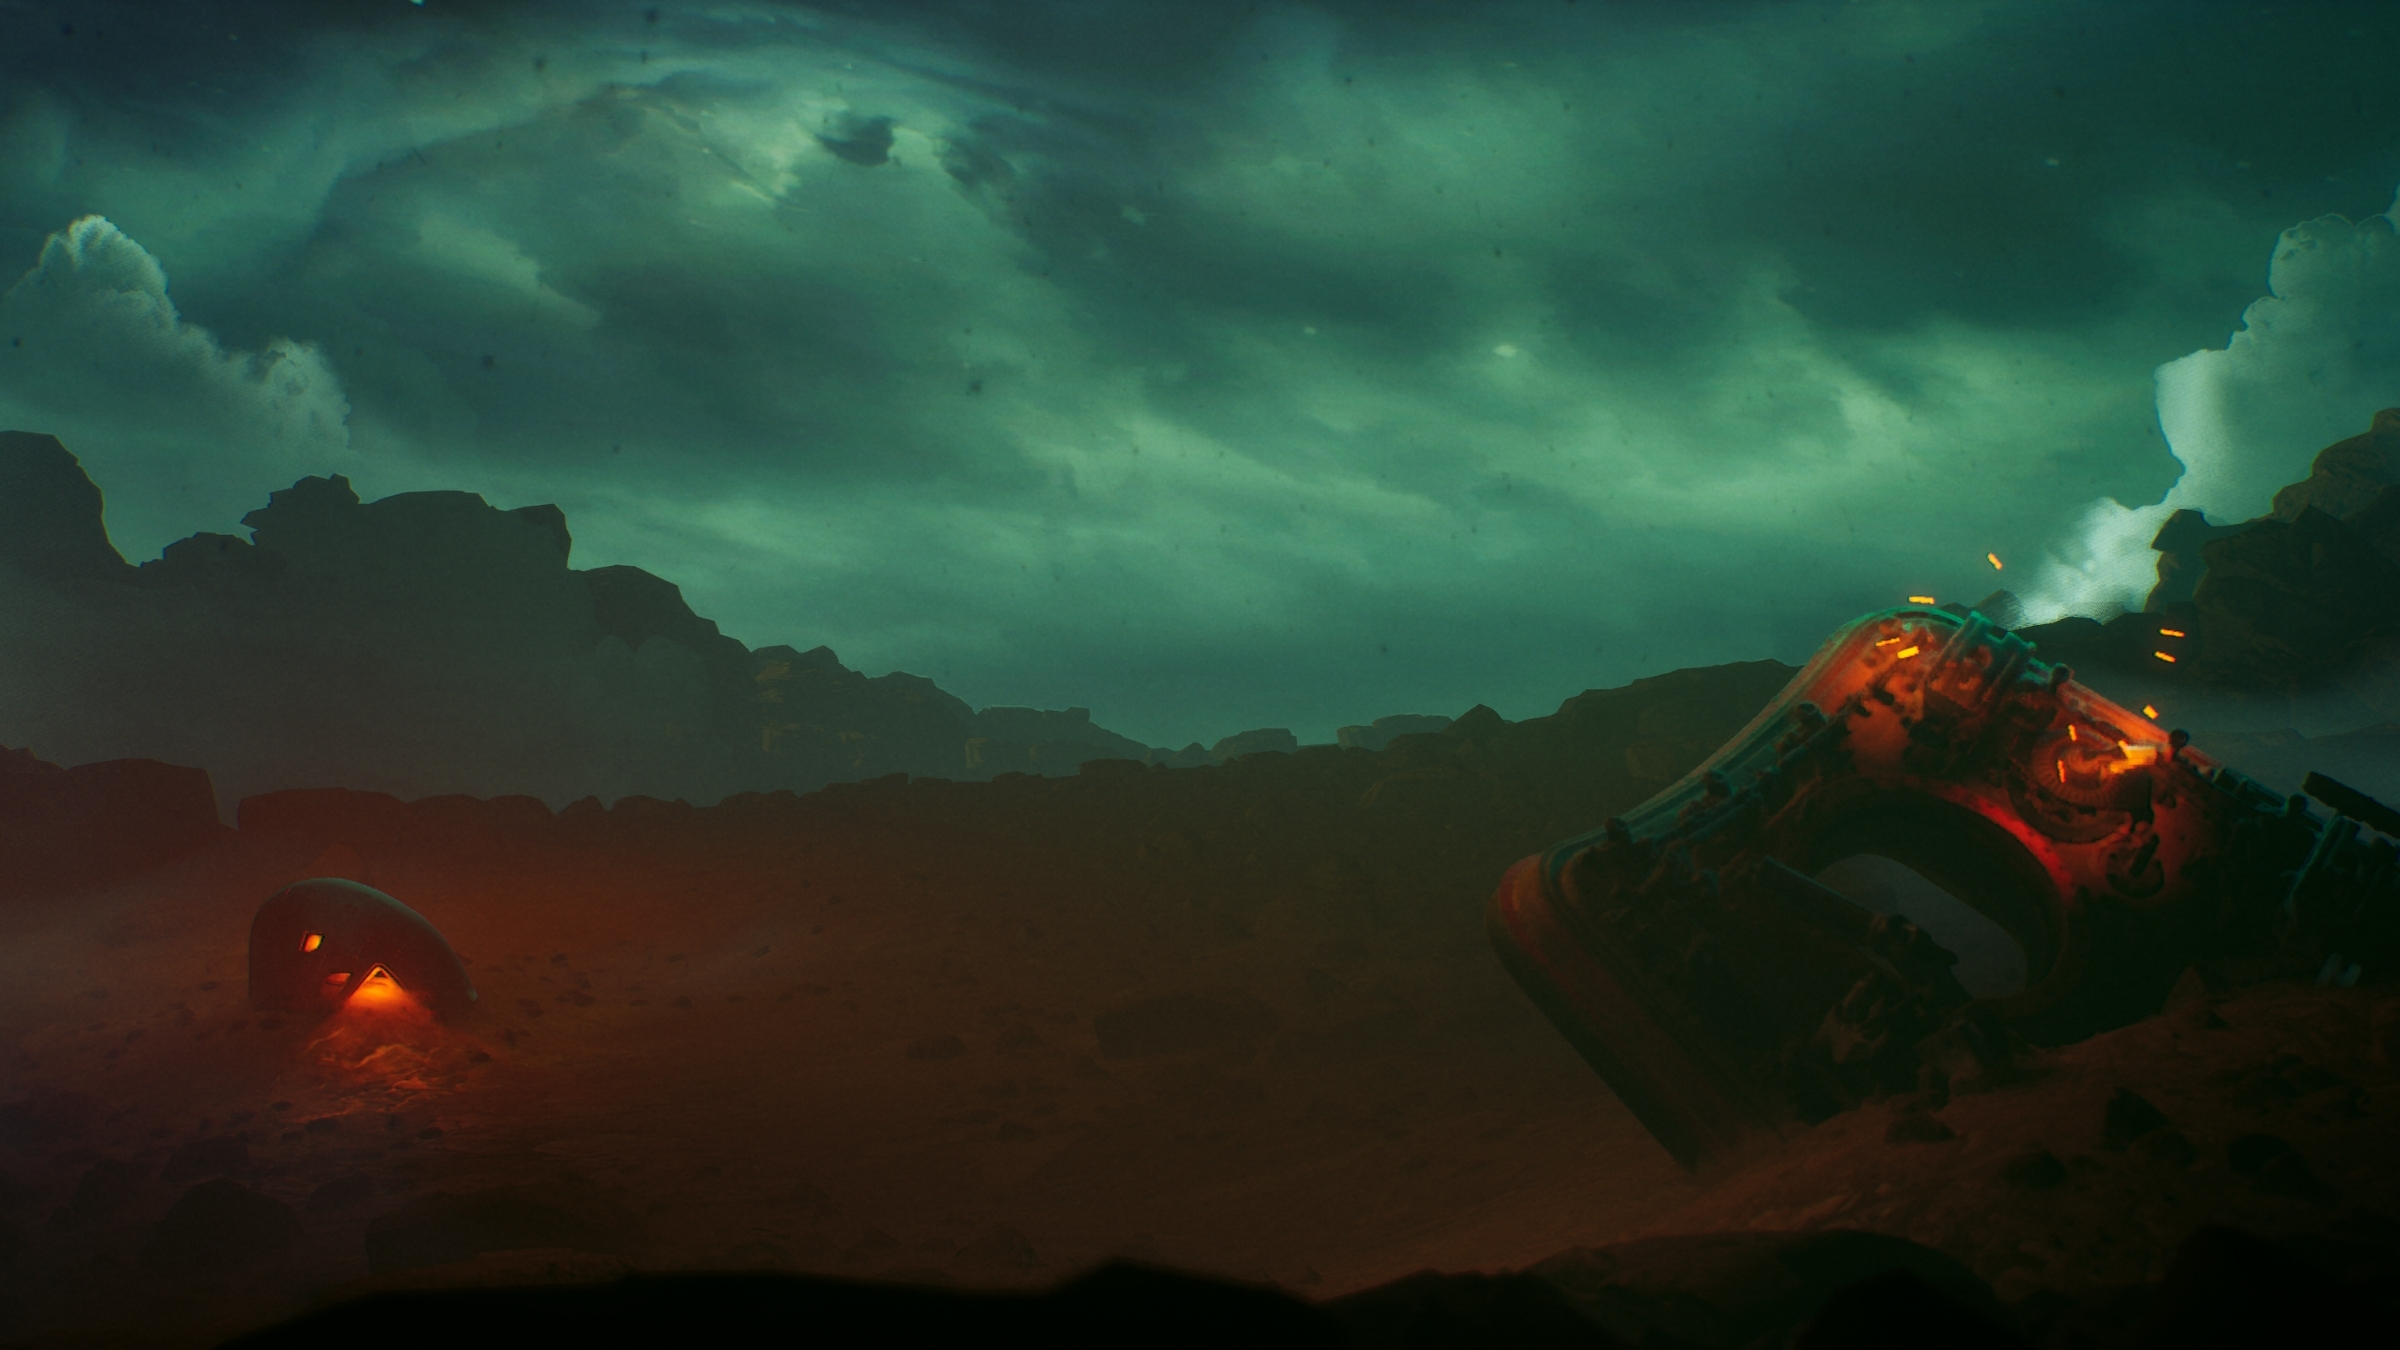
Disabling tone mapping in our viewport we can see that our image looks a lot more washed out and without life. That is perfectly normal and works exactly the same way as when you take a photo in a raw format with a modern digital camera. The light information is there, but it needs to be “converted” to a color space that our monitors and eyes perceive better.
💡 The disabled tonemapper look you see in the image above is used for reference only. You can use the console command ”ShowFlag.Tonemapper 0” to achieve this, but there really isn’t any reason to do this in a production setting, as ACES is the industry-standard tonemapper that most games and films use.
Anti-Aliasing (Brief reference)
Computers render an image pixel-by-pixel. Sometimes that results in ugly, jagged, pixelated edges that are visible on diagonal lines and object borders. Anti-aliasing, also referred to as "AA" for short, is a technique that every modern graphics engine, including Unreal Engine, uses to smooth out and hide such pixelated edges. UE5 uses a novel implementation called Temporal Super Resolution (TSR for short), which serves both as an anti-aliasing technique and an image upscaler. This allows the engine to render everything at a lower resolution before upscaling the final image for a monitor. As the acronym implies, TSR is a temporal AA technique, meaning that it looks back at multiple frames to decide which details should be or have been there for every pixel rendered, providing better, sharper visuals while running faster than other legacy AA techniques.

Exposure
Exposure controls how bright or dark your entire scene appears, just like adjusting the brightness on your camera or phone. In the real world, when you walk from a dark room into bright sunlight, your eyes automatically adjust. Unreal Engine can simulate this same effect using auto-exposure (also called eye adaptation), where your viewport automatically brightens or darkens as you move between different lighting conditions. Exposure is one of the most critical settings to be mindful of. Set it too bright and your scene looks washed out, set it too dark and your render will be too dark to notice all of the details.
💡 When starting work on a new project, it is generally recommended to use a fixed exposure & Min/Max EV100 of 0. This will allow you to work from an exposure level that is directly affected by your light intensities, and won’t alter your perception of how bright or dark your scene is.
Bloom
Bloom simulates the phenomenon you see in photos where bright lights “bleed” or glow beyond their actual boundaries. In the real world this happens because light scatters inside the camera lenses, creating that soft, dreamy look that you might want for your scene. In Unreal Engine, bloom kicks in automatically when parts of your scene get bright enough, making light sources feel more realistic and less flat. Unreal Engine also allows us to use a dirt mask texture. This adds smudges and dust patterns to the bloom effect, simulating a dirty lens to achieve an even more photorealistic look.
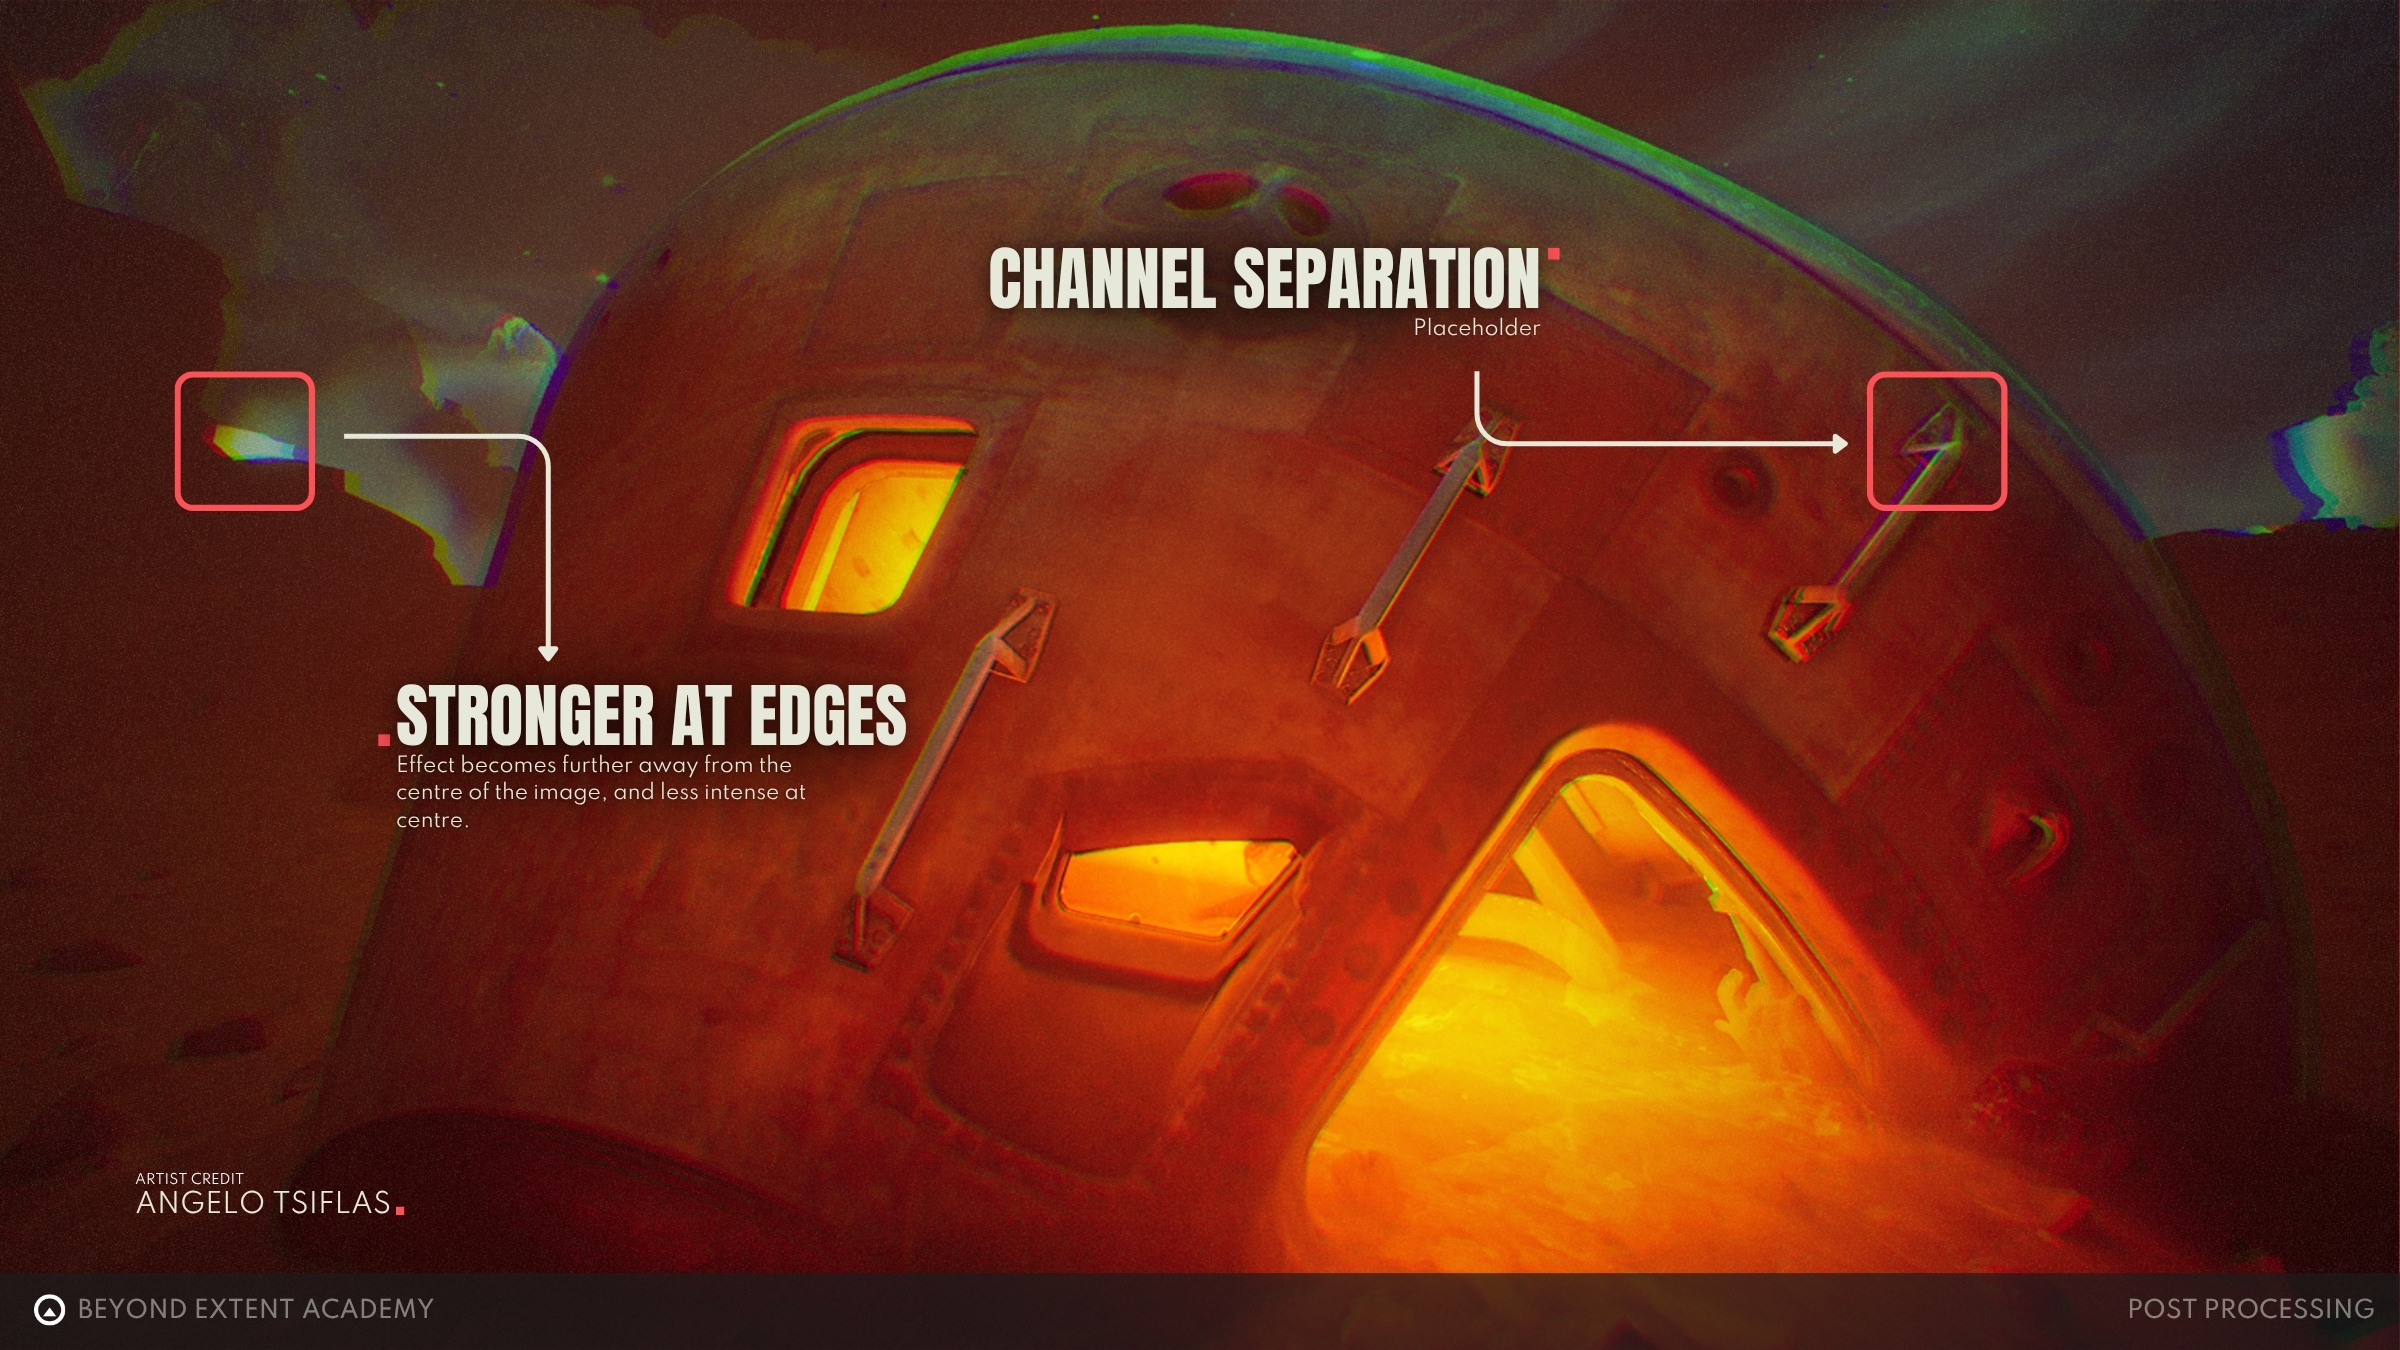
Chromatic Aberration
Chromatic aberration creates those tiny red and blue color fringes you see around the edges of objects in real camera footage. It happens because camera lenses bend different colors of light slightly differently, like how a prism splits white light into a rainbow. It is technically a lens imperfection that is more prominent in cheaper lenses. In our case though, using it in a subtle way can enhance the look of our scenes.
Lens flare
A lens flare is a light refraction effect that occurs when you point your camera at a very bright source. Think of looking directly at the sun through a camera, where you'll get those characteristic streaks, hexagons, and bright spots. In games, lens flares add cinematic flair and help sell the illusion that you are viewing the world through a camera lens rather than just seeing a fake 3D world. As with most effects, less is usually more, otherwise you risk your environment looking like something out of a Michael Bay movie.
Image Effects
Unreal Engine provides a set of image effects that are worth discussing. One is Vignette, which darkens the edges of your screen, naturally drawing the viewer’s attention towards the center. It helps set the mood and gives everything a more dramatic and focused look. Additionally, the Sharpen effect increases the contrast of an image, making edges and details pop more. Be careful though, as too much sharpening can give your image a deep fried look.
Film Grain
Film grain adds tiny random speckles across your image, mimicking the imperfections you see in actual film photography or older movies. While modern cameras do a pretty good job eliminating grain, adding it artificially can create atmosphere and give your renders an overall more organic and grounded aesthetic.

Motion Blur
Motion Blur recreates the natural blurring effect that happens when objects, or your camera, move too quickly. In the real world, cameras capture light over a brief period of time, so anything moving during that frame capture period will create a blur trail. Unreal Engine automatically adds this blur based on how quickly things are moving in your scene, whether it's objects flying around or the player spinning the camera rapidly. It makes camera movement feel more natural and adds an extra layer of realism in your cinematics.
COLOR GRADING
Color grading is the process of changing the colors of our image to reinforce storytelling. Think of this step as applying an Instagram filter to give your photo a warmer or cooler tone. For example, you can make a horror scene feel unsettling with sickly greens and purples, or make a romantic scene warm with golden oranges and soft pinks. This is an example of what we call Color Theory. You can learn more about Color Theory here!

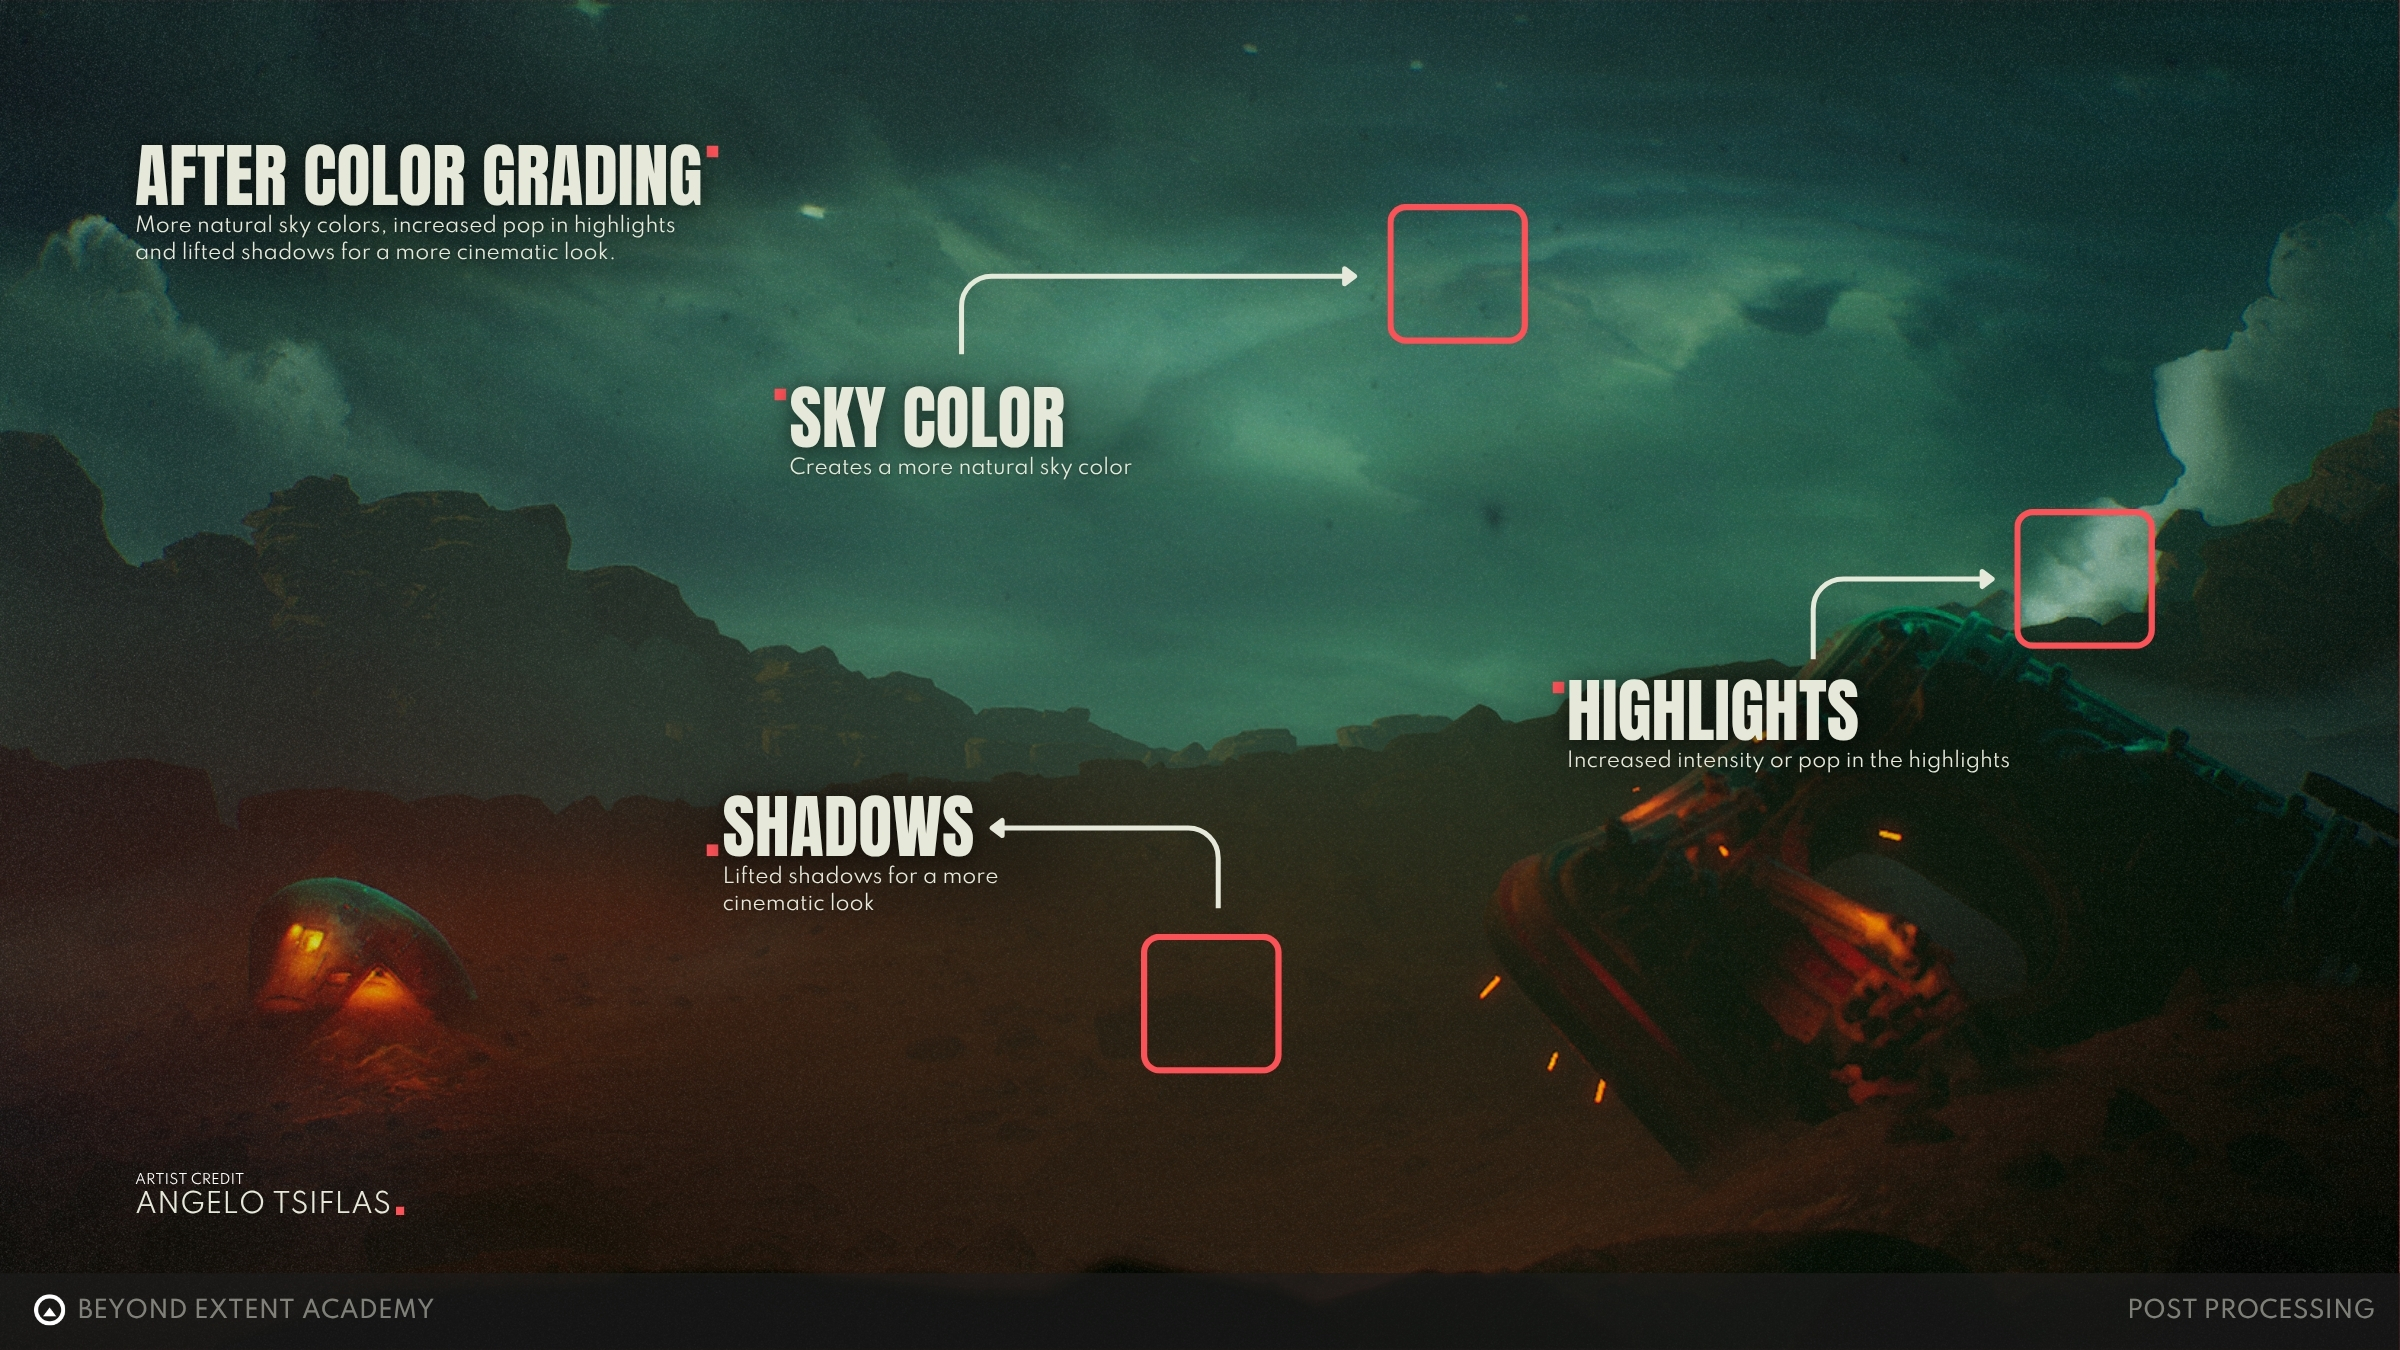
Unreal Engine’s color grading tools include color wheels for shadows, midtones, and highlights, each one also having contrast and saturation controls for further nuance. When we refer to shadows, we typically mean the darker parts of your image, while with highlights, we mean the brightest ones. Midtones are just the rest of the pixels in-between.
💡 An alternative way to color grade in Unreal Engine is by using Look-Up Tables (also known as LUTs). These are pre-made color grading “filters” that are saved in a specific image file that can be used to apply a desired color grading look. One limitation of LUTs due to their simplicity, is that they work on a limited color spectrum range. That means that they are prone to artifacts if you push the colors too much. Nevertheless it’s an fast and good enough alternative if you prefer to do your grading in external software such as Photoshop or DaVinci Resolve.